Manifesting my daily bread, but make it dark and brooding. 🍞💅”
I am well aware that there is a growing trend of baked breads on this site when I alluded to cooking in my description. Cooking will come back in fashion soon, and as Gemini so aptly wrote this morning, “Carbs aren’t a phase, they are a lifestyle.” So, here I am with yet another loaf of bread.
At this point, I think I need to design a spin the wheel, bake the bread system. I asked my husband, “what bread should I bake next?” and his answer was an immediate “pumpernickel.” Say no more. Challenge solidly accepted.
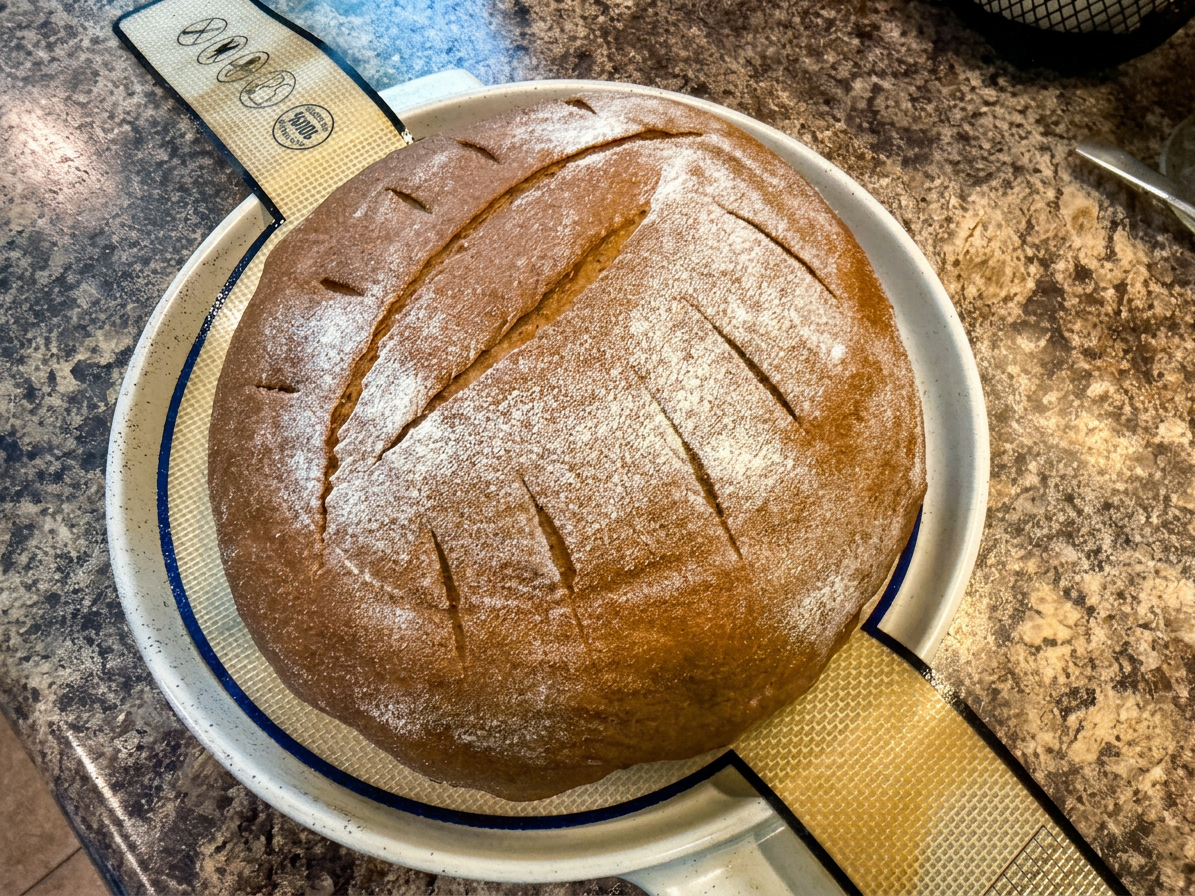
Bread is so useful to have. When I am super hungry, the last thing on my mind is let’s whip up a salad. My mind immediately jumps to a nice, hearty sandwich . (Yes, I have made peace with my curves, thank you.)
Back to the bread: Typically, one would need dark rye flour for this bread, but I only have medium rye, but Gemini said this would not be an issue. Dark rye flour is thirstier, so we just reduce the amount of liquid going into this bread.
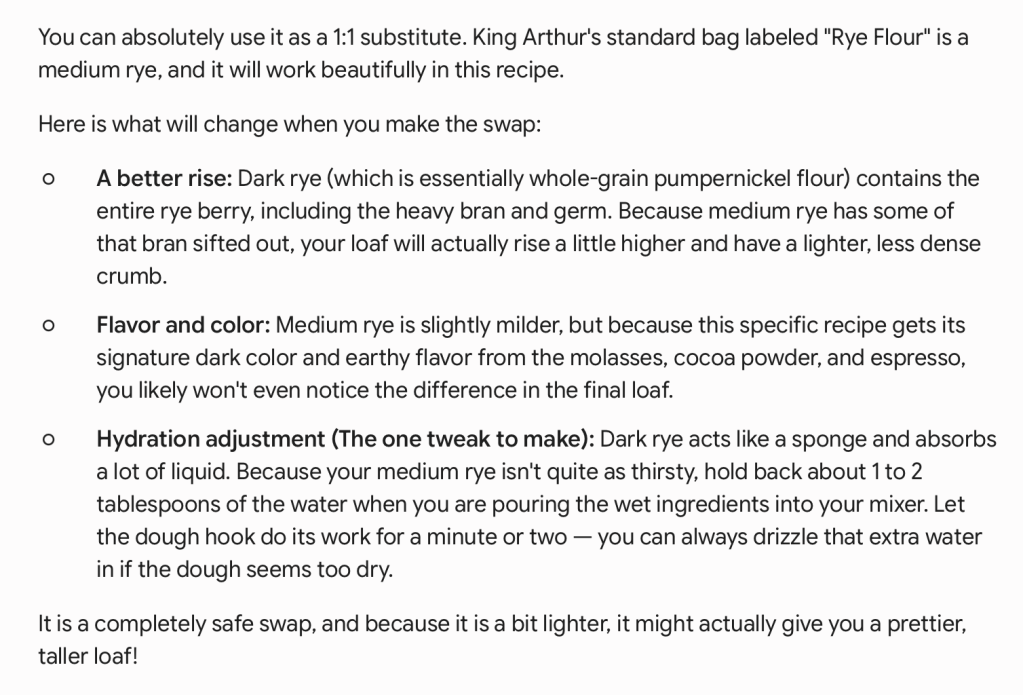
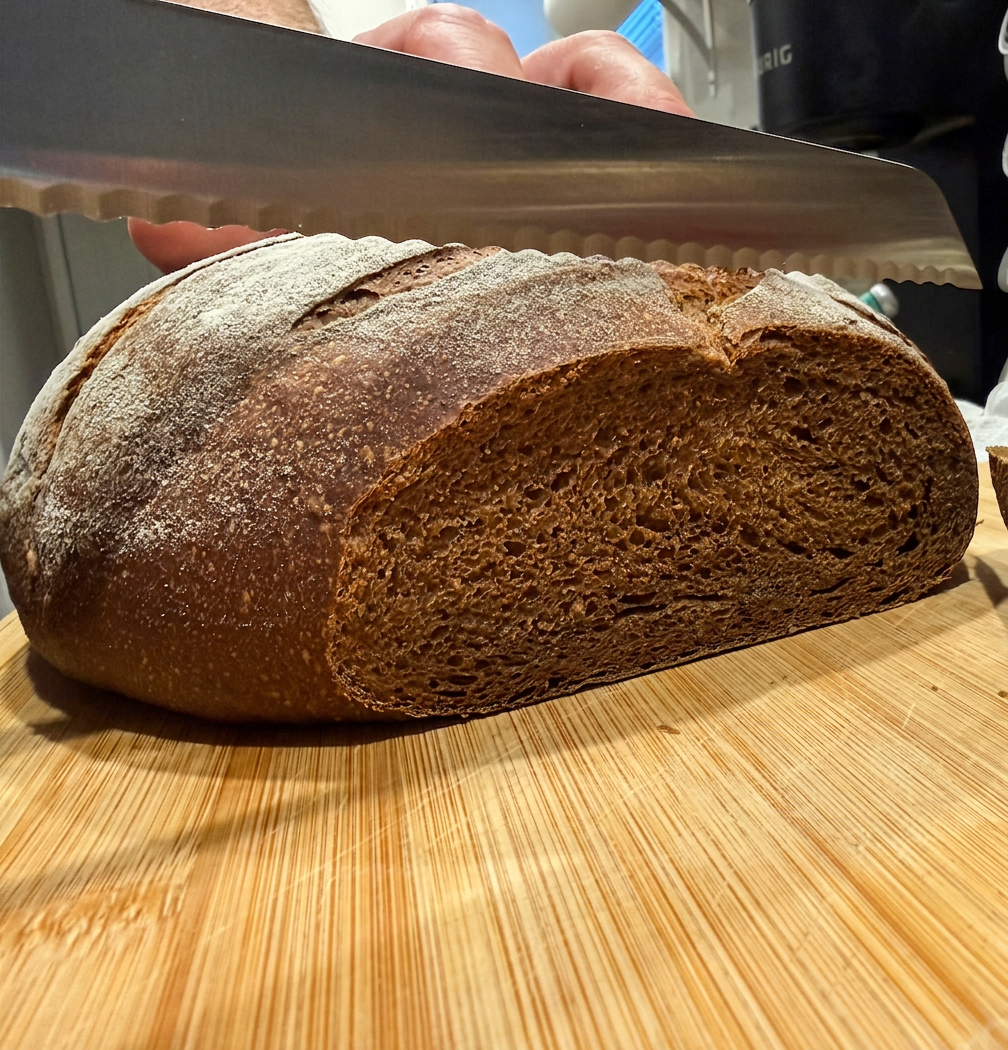
I really love this aspect of using AI to bake, because you do have the option of asking for alternatives and getting the right balance. From the picture above and below, you can see that this recipe was a success.
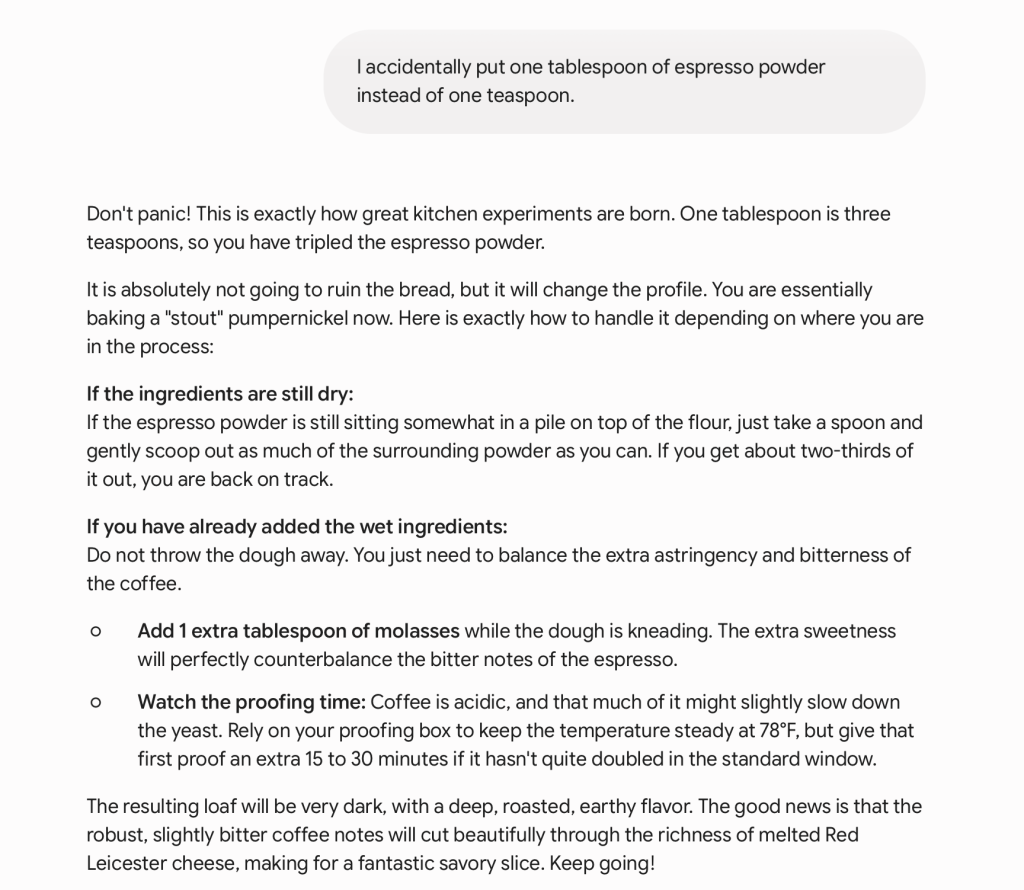
This baking process was not without its faults either. I am a huge fan of measuring with a scale instead of cups and spoons. It is not nearly as hard to mess up your grams as it is to mess up your Tbsp and tsp when you are reading down the list. Just like I did this time when I thought I read 1 Tbsp of espresso powder only to look back and see that it was a tsp. Again, Gemini did not let me down:
Equipment used for this recipe:
Kitchen Aid Ceramic Bread Bowl with Baking Lid. You could use this to mix your loaf in and then let it rise in this too.
Brød & Taylor Proofing Box, set to 78F (25C) which folds up and stows when not in use and comes with a water tray you place in the bottom. In doing this, you can forego covering your dough, because the moisture levels from the tray keep the dough from creating the hard skin.
Banneton Proofing Basket for the second proof give the bread supportive structure and create the artisanal rings. I did use the liner and some flour as this dough is quite sticky.
Here is the original recipe using medium rye flour: ere is the updated recipe, adjusted for the King Arthur medium rye flour. The only structural change is a slight reduction in the warm water to account for the medium rye being a bit less thirsty.
Ingredients
- 1 ½ cups (160g) King Arthur medium rye flour
- 2 cups (240g) bread flour (plus a little extra for dusting)
- 1 ½ tsp instant yeast
- 1 ½ tsp fine sea salt
- 2 tbsp unsweetened cocoa powder
- 1 tsp instant espresso powder
- 1 tbsp caraway seeds (optional, but classic)
- ¾ cup plus 2 tbsp (210ml) warm water (around 100°F)
- ¼ cup (60ml) dark molasses
- 2 tbsp neutral oil (like canola or avocado)
The Method
1. Mix the dry ingredients: Prep.
In the bowl of your stand mixer, whisk together the King Arthur rye flour, bread flour, instant yeast, salt, cocoa powder, espresso powder, and caraway seeds.
2. Knead the dough: 6-8 minutes.
In a separate measuring cup, whisk the warm water, molasses, and oil. Attach the dough hook to your mixer, turn it on low, and slowly pour in the wet ingredients. Once a shaggy dough forms, increase the speed to medium-low and let the mixer knead for 6 to 8 minutes. If the dough looks overly dry after 2 minutes of kneading, you can add 1 extra tablespoon of warm water.
3. First proof: 1.5 to 2 hours.
Scrape the dough out, form it into a smooth ball, and place it in a lightly oiled bowl. Set your temperature-controlled proofing box to 78°F (25°C) and let the dough rise until nearly doubled in size. You should get a slightly taller rise with this medium rye than you would with a dark rye.
4. Shape and second proof: 1 hour.
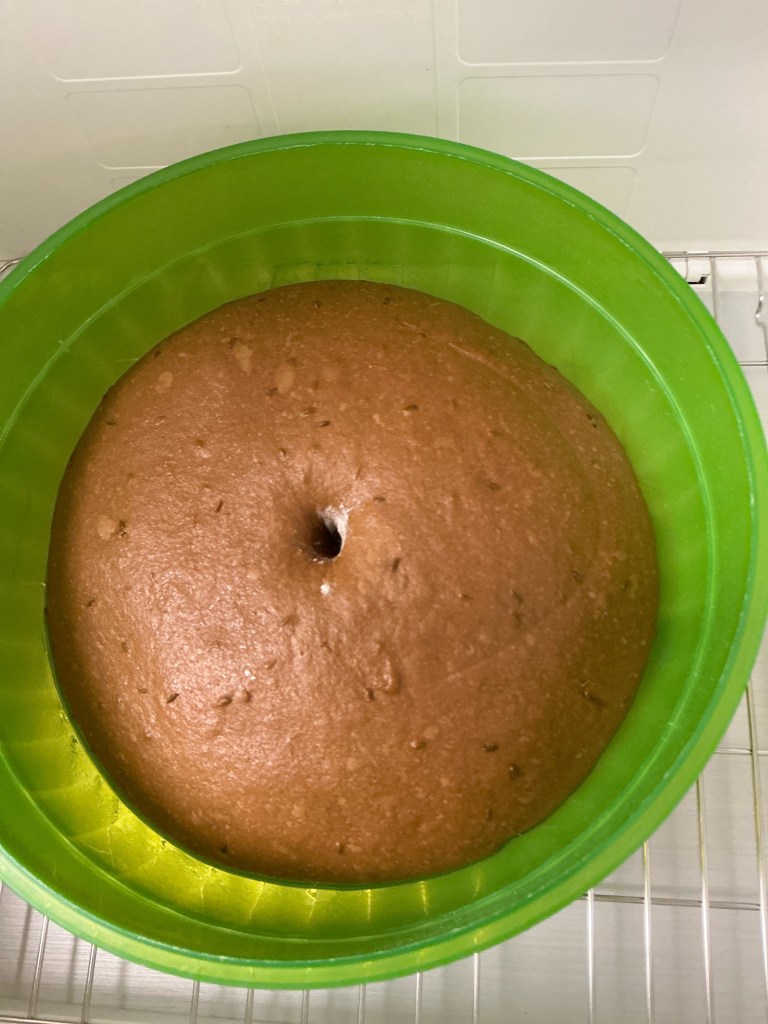
You should now have a beautiful brown dome. Give it a “poke test” to test the readiness.The hole should stay exactly where you poked it and should not aggressively spring back to fill the hole. This tells us the gluten network is perfectly relaxed and the yeast has done its job.
Punch the dough down gently to de-gas it. Turn it out onto a lightly floured silicone baking mat, shape it into a tight round boule, and cover it lightly with a damp towel or plastic wrap. Return it to the proofing box for a final 45 to 60 minutes until puffy.
5. Score and bake: 35-40 minutes.
Preheat your oven to 375°F (190°C). Score the top of the loaf with a sharp knife to control the expansion. Bake on the middle rack for 35 to 40 minutes, or until the internal temperature reaches 190°F.
6. Cool completely: Crucial step.
Transfer the bread to a wire rack. Let it cool completely before slicing to ensure the crumb sets properly and doesn’t become gummy.
A quick note if you do use a Kitchen Aid Bread Bowl and Baking Lid:
That KitchenAid bread bowl is absolutely perfect for this. In fact, using an enclosed ceramic vessel like the one in image_3.png is the best possible way to bake this loaf.
It acts just like a professional steam-injection oven. The moisture from the dough gets trapped inside that ceramic dome, which keeps the crust soft during the first half of the bake, allowing for maximum rise (oven spring) before the crust finally sets.
Here is exactly how to adjust the baking steps to use it:
1. The Preheat
Place both pieces of the empty ceramic bowl into your cold oven. Then turn the oven on and preheat it to 375°F. Letting the ceramic heat up gradually with the oven prevents thermal shock. Let it sit in the hot oven for at least 30 minutes to get thoroughly blazing hot.
2. The Parchment Sling
When your 45-minute second proof is done, don’t try to dump the dough directly into the hot base. Instead, turn the dough out from the banneton onto a piece of parchment paper. Score the top of your loaf while it sits on the paper.
3. The Bake
- Covered (25 minutes): Carefully remove the hot base from the oven. Grab the corners of the parchment paper like a sling and lower the dough directly into the base. Cover it with the hot ceramic dome and put it in the oven for 25 minutes.
- Uncovered (10 to 15 minutes): After 25 minutes, carefully remove the heavy dome lid. The bread will look beautifully puffed but pale. Leave the bread in the oven uncovered for another 10 to 15 minutes to allow the crust to firm up and darken.
Once it hits that internal temperature of 190°F, pull it out and transfer the loaf to a wire rack. Let it cool completely before you slice into it!

